Wednesday, January 1, 2025
Quick Start

Welcome to the Sama Deploy Quick Start Guide! In this step-by-step walkthrough, you'll learn how to set up Sama Deploy on a fresh Ubuntu server, configure your domain, rent a new server, and prepare it for app deployments.
Prerequisites
- Ubuntu server (fresh installation)
- Root user access
- A domain pointing to your Ubuntu server
- Installation command which was provided via email
Installation Steps
- Locate Your Installation Email After completing your purchase, you'll receive an email containing your unique Sama Deploy installation command and license key.
- Run the Installation Command SSH into your Ubuntu server as the root user and run the installation command provided in your email. Below you see an example command. ⚠️ Important: Always use the exact command provided in the welcome email. It includes your unique license key which is tied to the purchase

After you run the command, you will be prompted by the Sama Deploy CLI tool to enter your domain. Create a new domain and point it to the server where your Sama Deploy instance will run. It's important to disable any proxies, e.g., Cloudflare proxy. Sama Deploy will handle SSL certificates for you. Below you can see an example of the installation progress once you enter your domain.
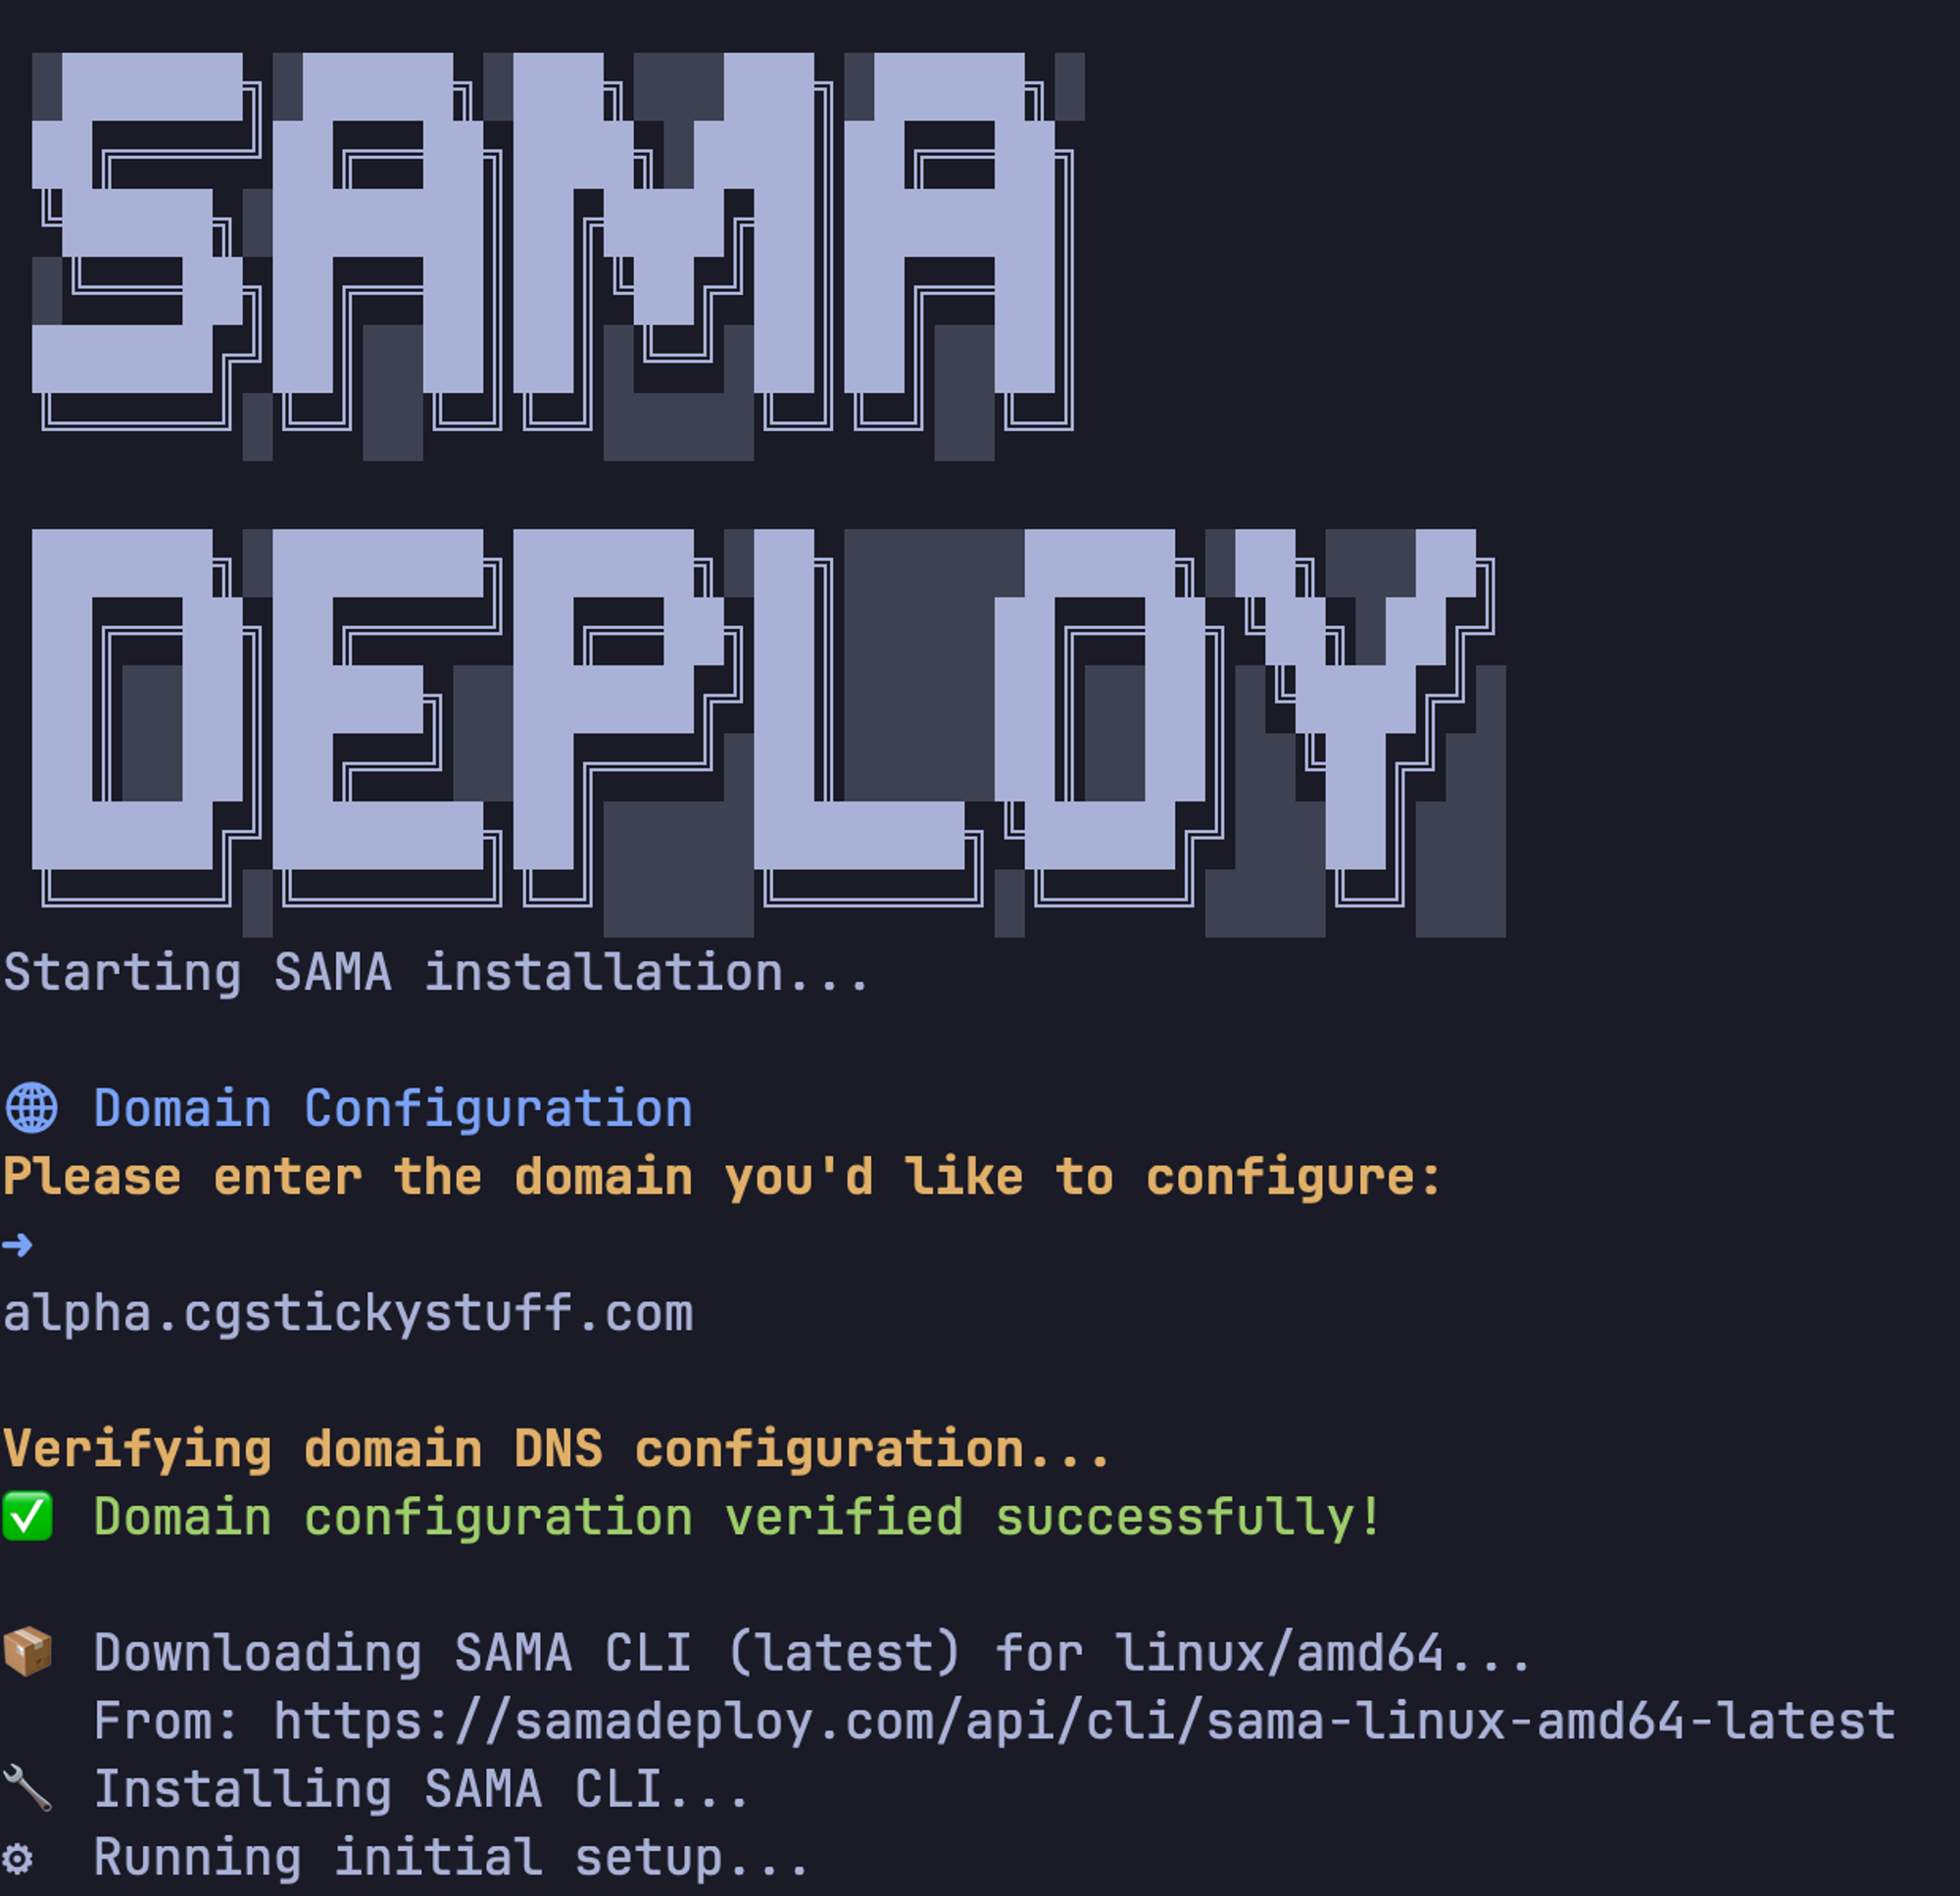
Once the installation is done, you will be prompted to visit your new Sama Deploy instance.
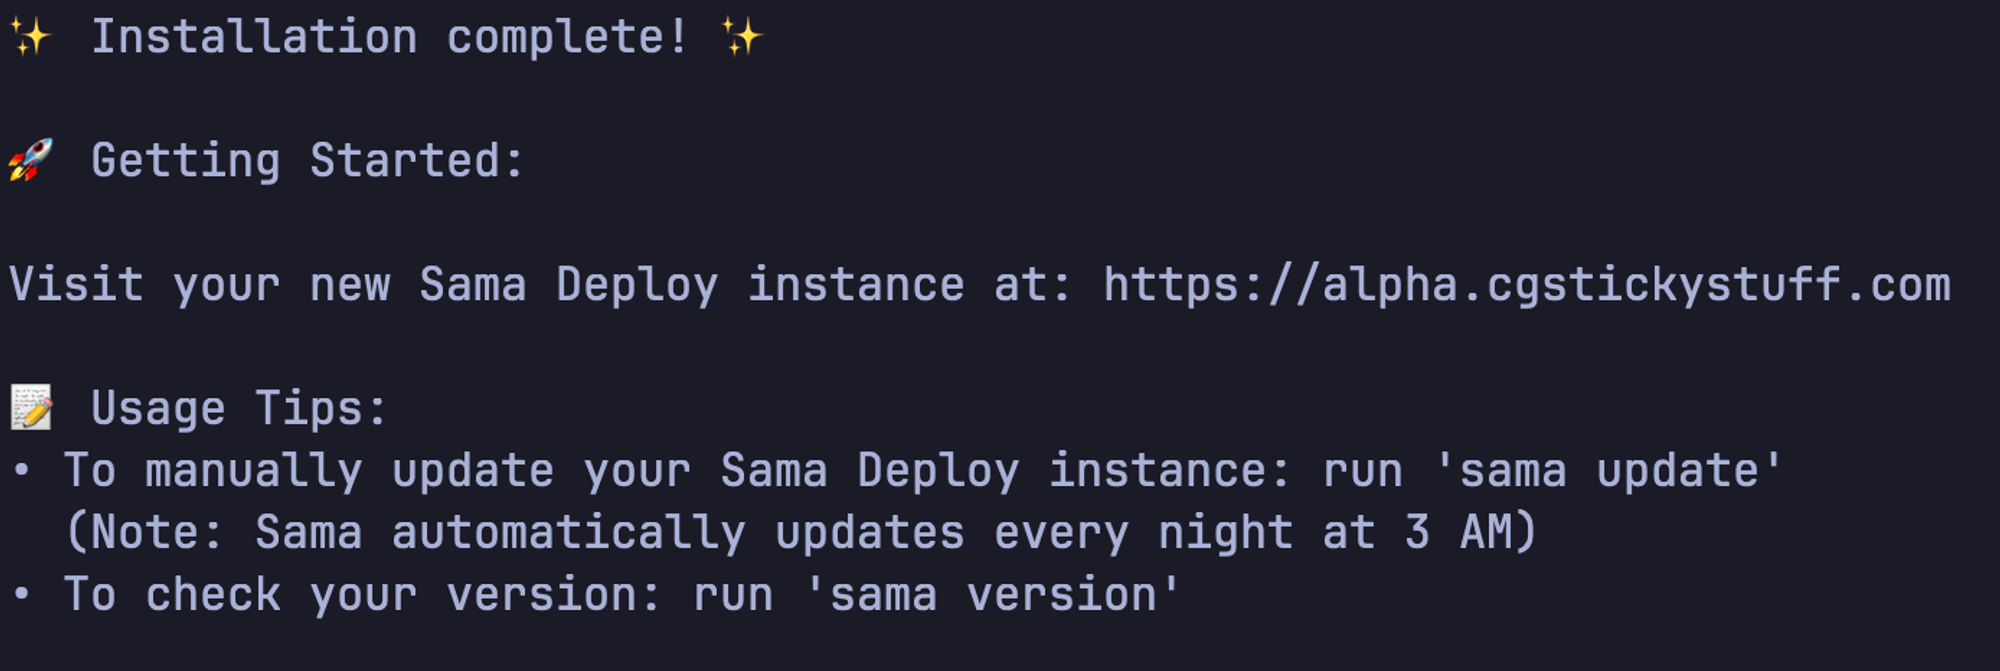
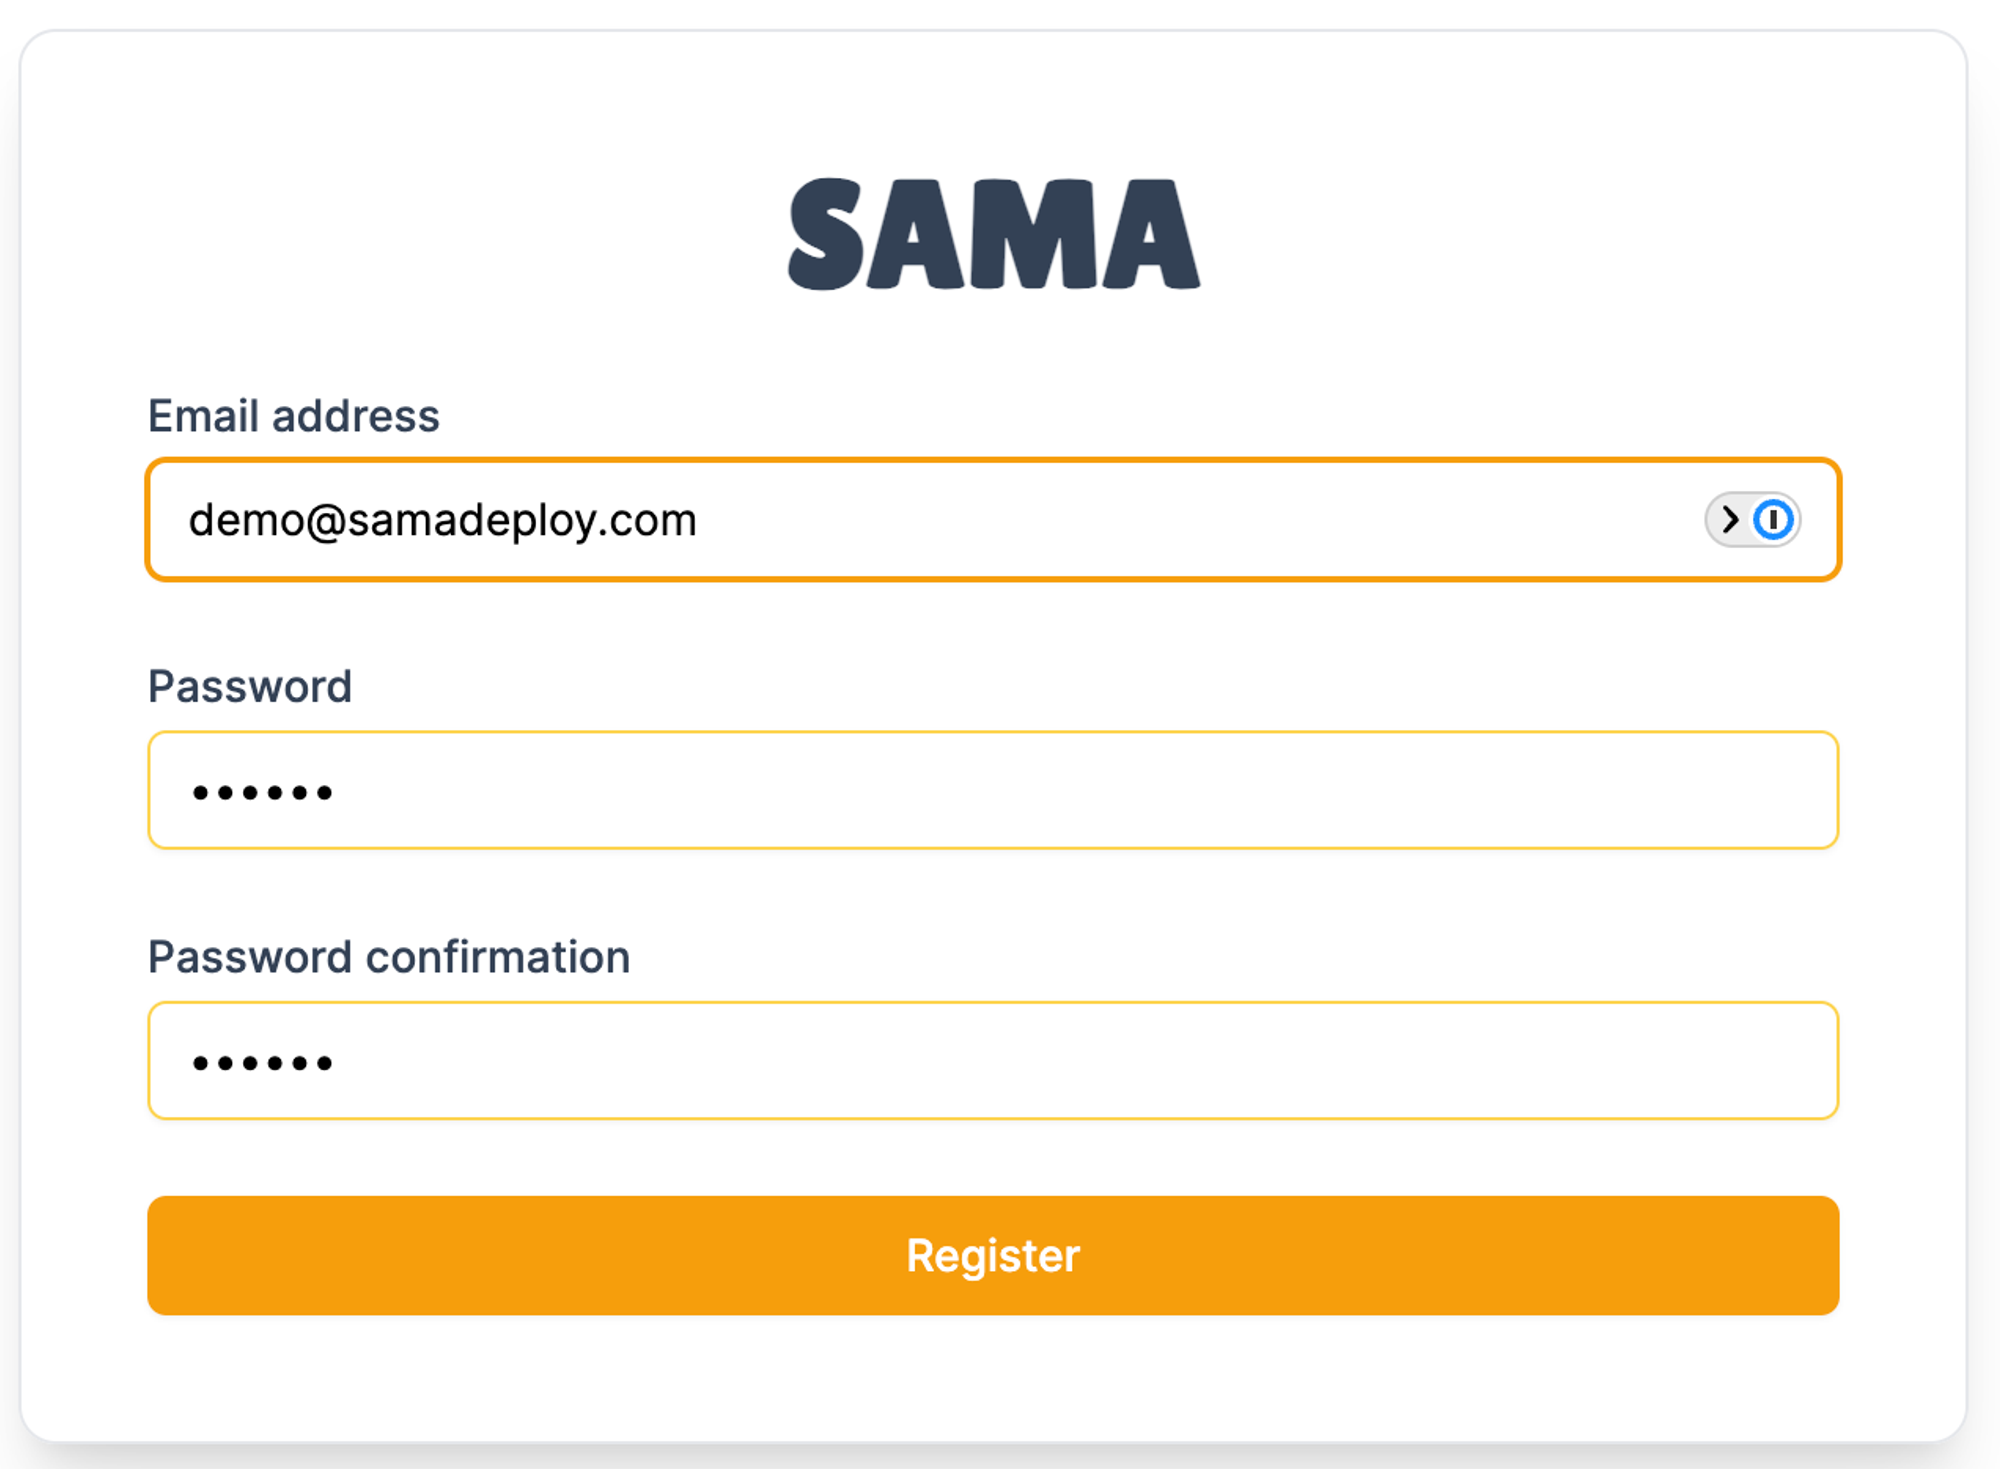
Copy the provided link and open it in your browser. You should now see the getting started page, where you can create your account. Note that this is the only opportunity to create an account, as Sama Deploy is designed as a single-user application.
Hetzner API Key and Github Access Token
Follow the instructions displayed in the app to add a Hetzner API Key and a GitHub Access Token to your account. If you want, you can also add your laptop's SSH key to your account. This SSH key will then be added to all servers you create with Sama Deploy, allowing you to SSH into those servers if needed.
Below, you can see the menu entries for adding these keys.

Rent a new server from Hetzner and set it up for deployments
- Click on 'Servers' menu entry
- Click on 'Create now'
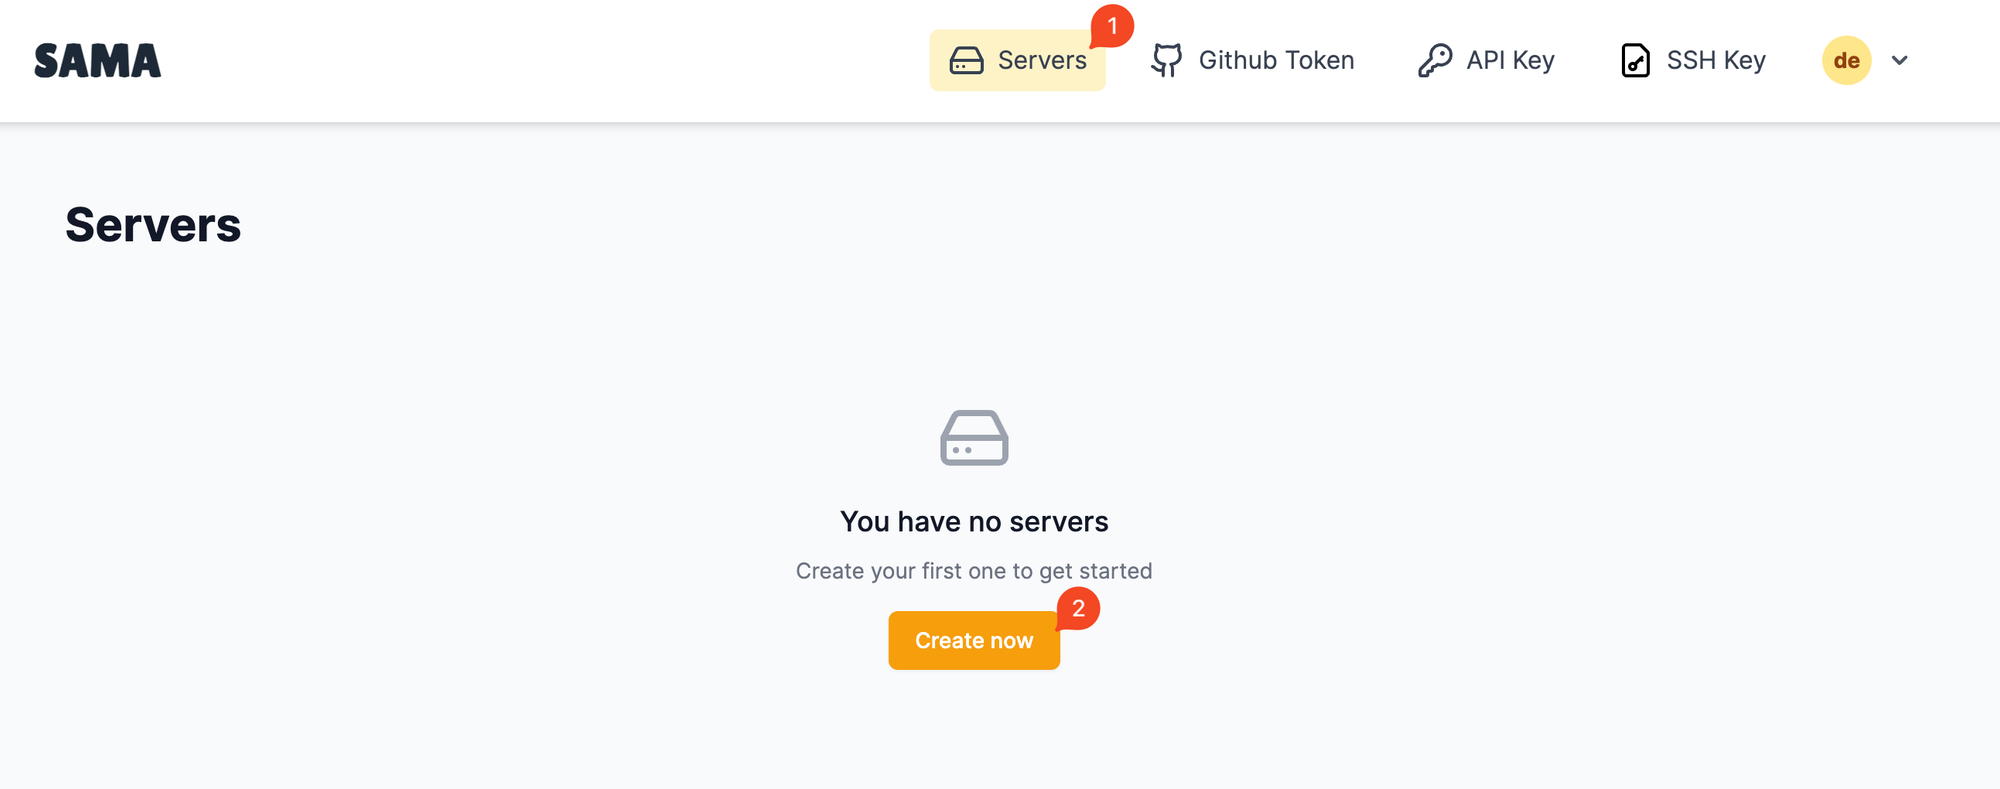
Then select the specs you want and click on 'create'.
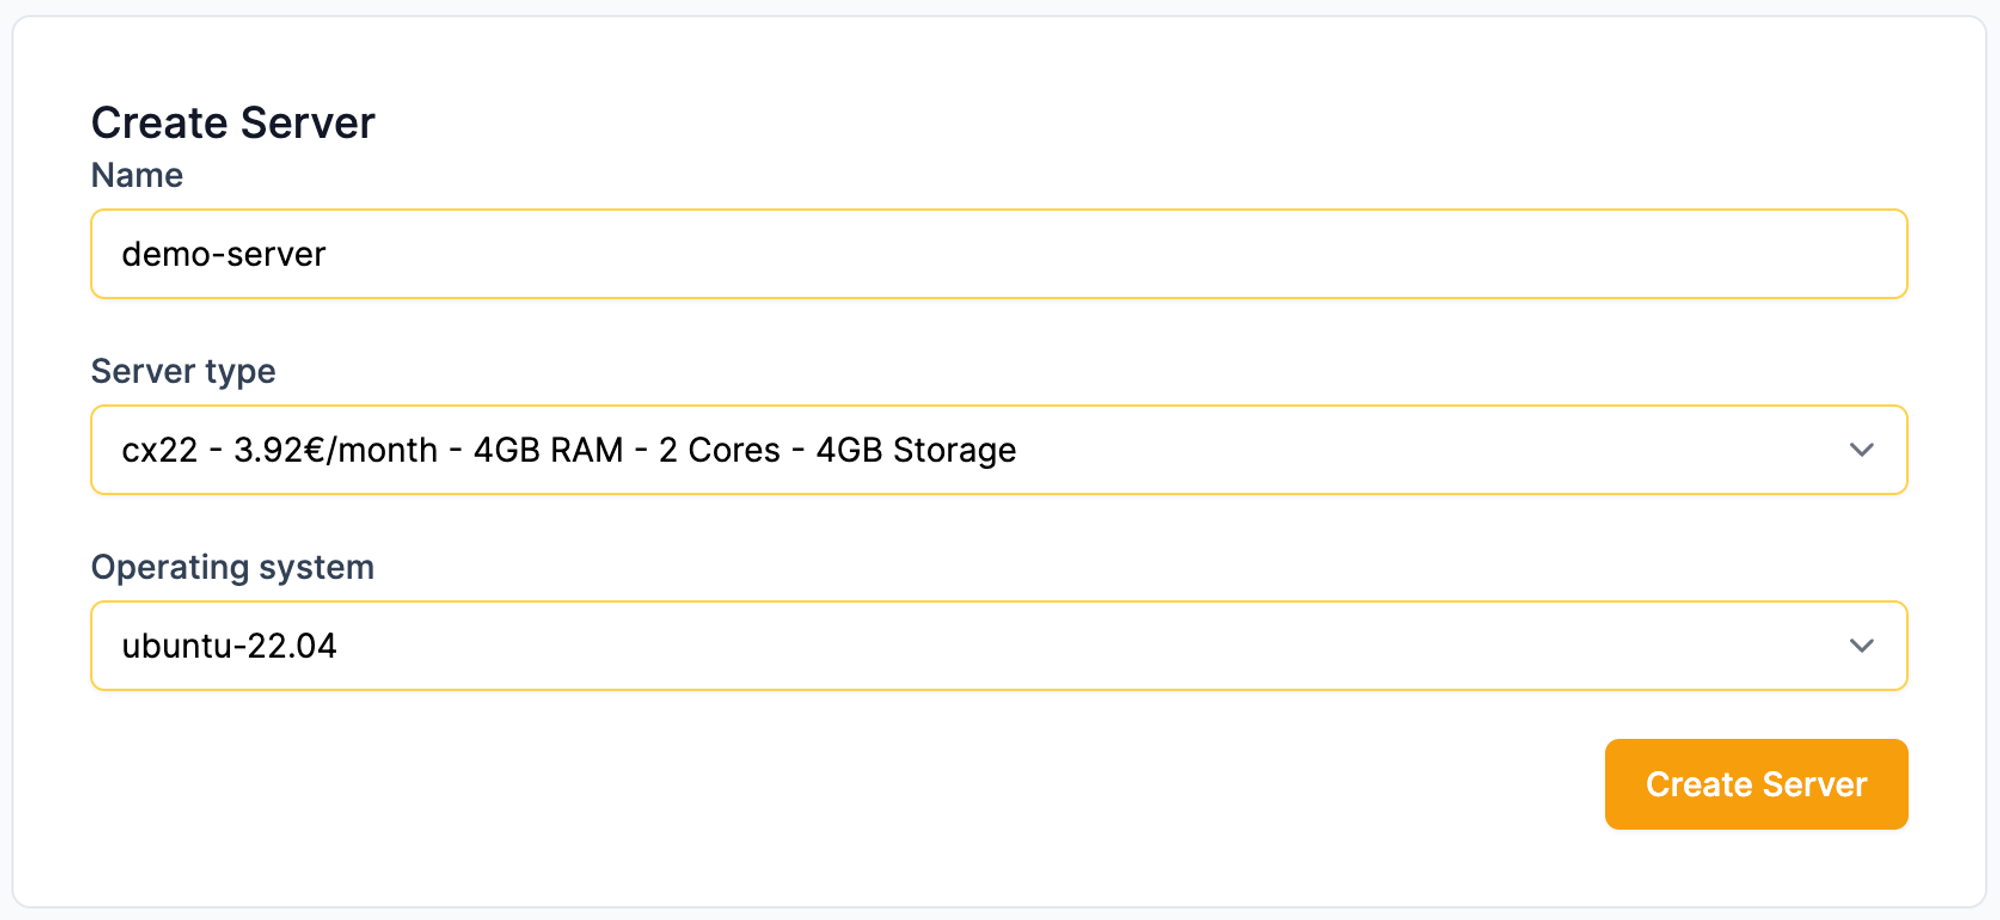
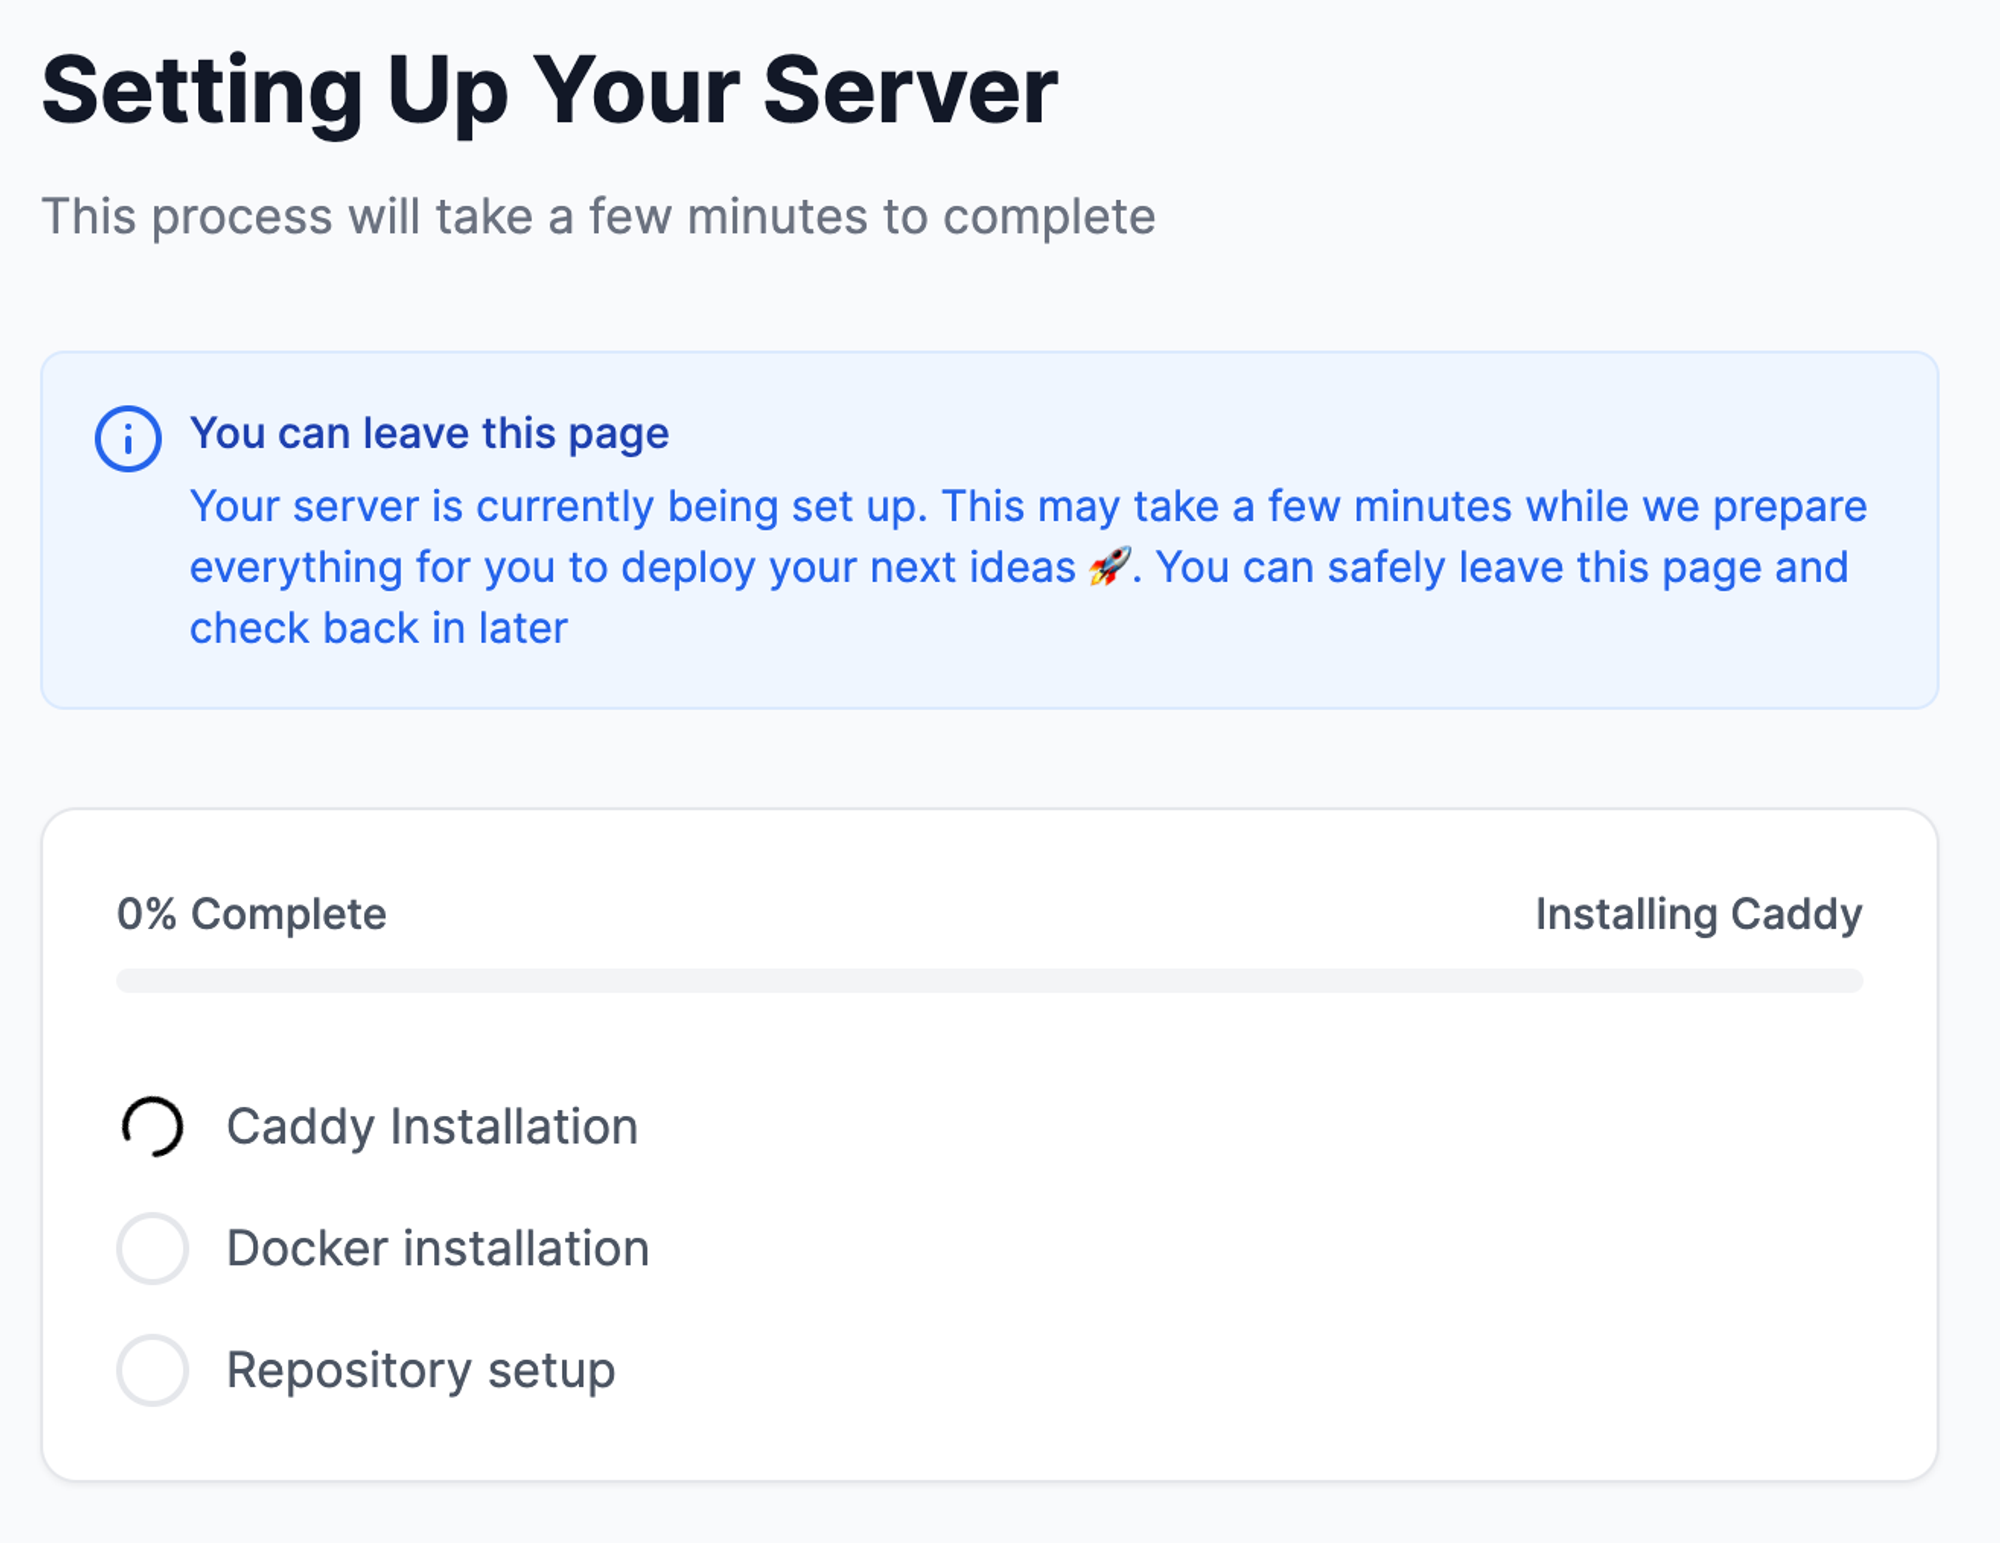
Your server will now be created and prepared for future deployments. This process may take a few minutes. However, you can safely leave the page and check back later to see if everything is completed.
Once the setup is complete, you will be redirected to the server details page, where you can begin deploying apps.
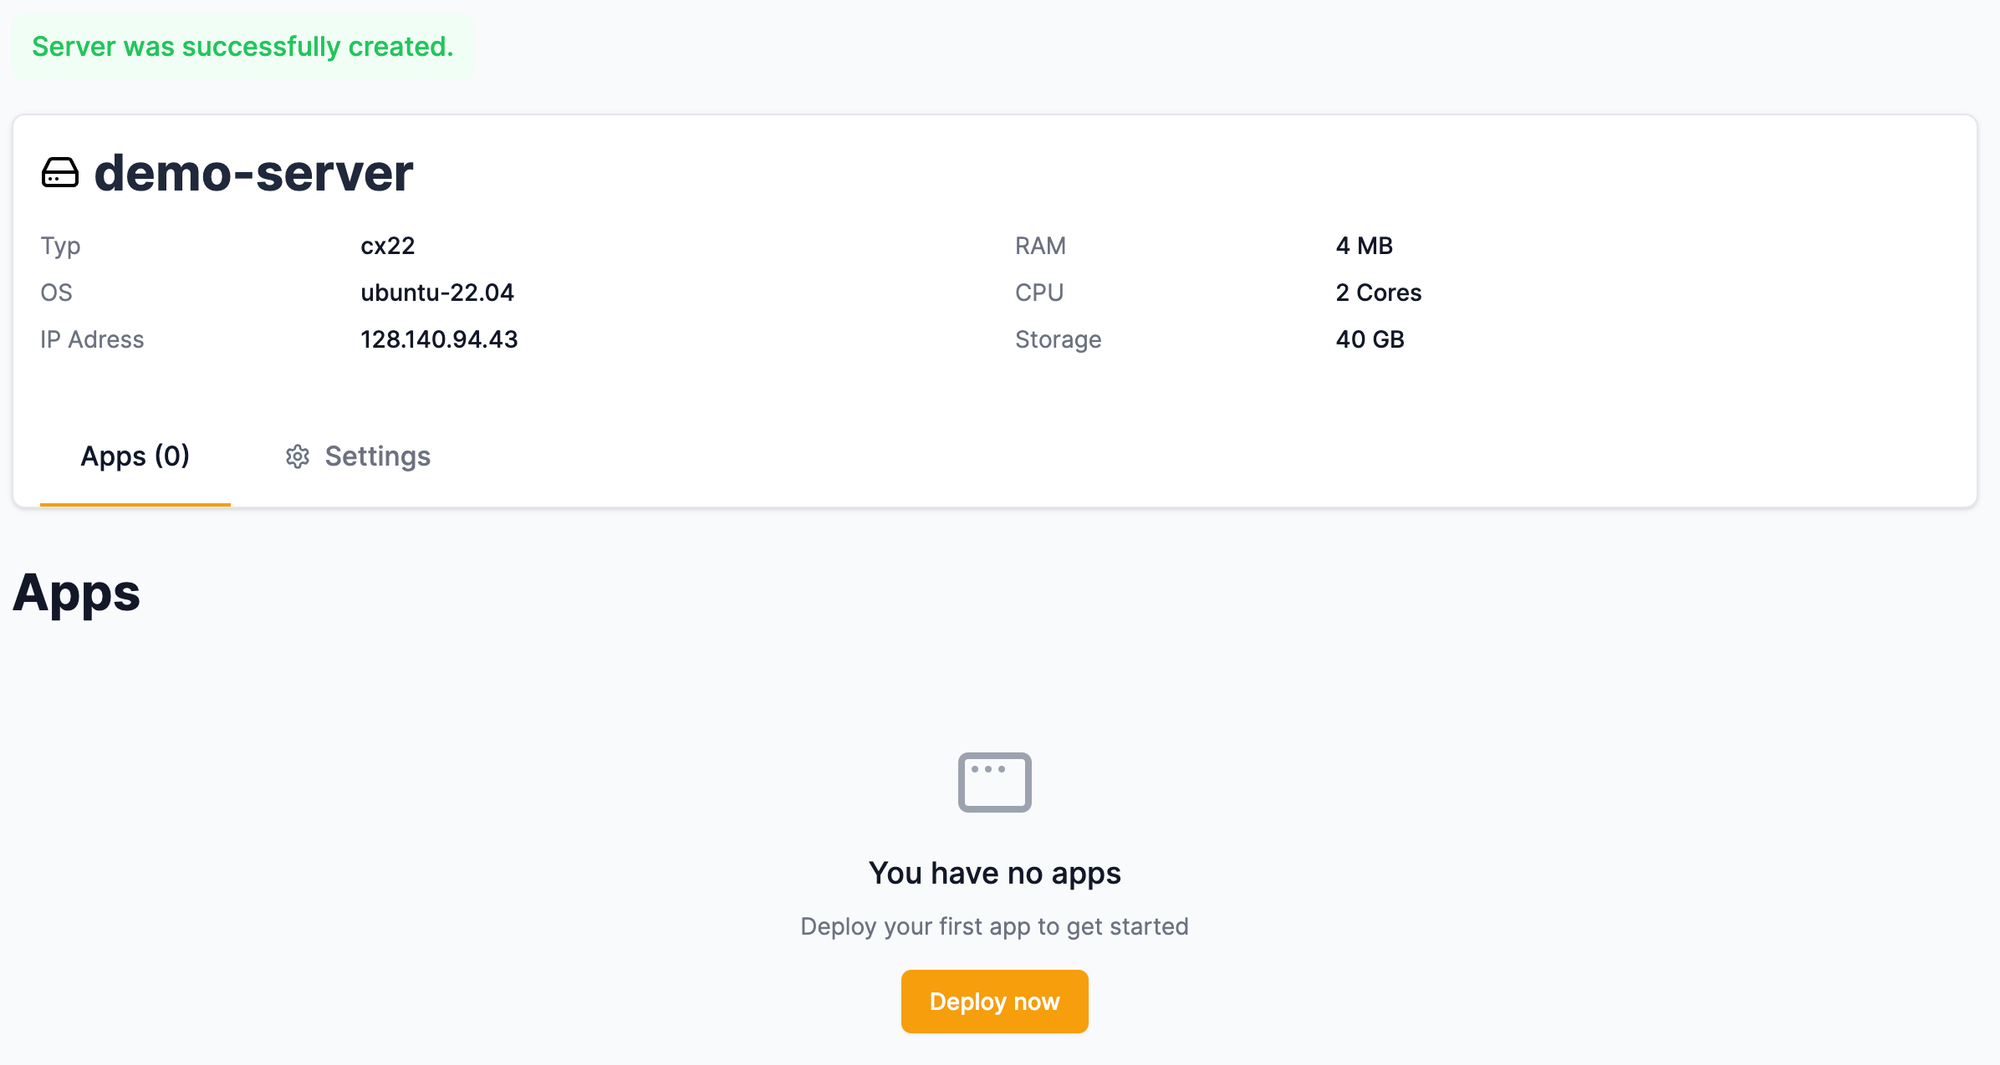
Congratulations! You have successfully installed Sama Deploy and set up your first server, ready for app deployments. Next, start deploying your apps by following one of the deployment guides, such as:
How to deploy a full stack SvelteKit app.